By appling a wash without a shellac sealer, you can create a great Spanish patina that shows beautiful lay lines and the subdued look of gold that is
centuries old.
Back in my early days in New York City, I was very lucky to be working with master frame maker Henry Rothman. His friends at the time were some of the last remaining artists from the WPA (Works Progress Administration) period in New York, from the mid 1930s to the mind 1940s. The artists who participated in the WPA ranged from the figurative and academic all the way to abstract expressionists to surrealists. Almost every other school of painting, sculpture, and the graphic arts, including prints and posters, were included. And that included framemakers. These artists were paid by the government to paint in public projects all over the county, helping to bring the U.S. out of the Great Depression. I was in my early twenties, and they were in their late seventies. As a framemaker and artist, I couldn’t have gotten a better education anywhere in the world.
One of the great artists influenced by this crowd and who studied with Sol Wilson at the Hans Hoffmann School of Art in the late 1930s was Paul Resika. He was one of the eminent young painters who grew up in New York at the end of the period. I was lucky enough to work with Paul throughout my framing career in Manhattan. If it wasn’t for Paul always pushing me to make better and richer gold frames for him, I might never have discovered one particular great wash finish.
It was in the early 1980s, and there I was in the shop on 28th Street around 10 p.m. I had gilded all day and was trying to finish the last 10 frames. They had to be at the Graham Gallery on Madison Avenue by 10 the next morning so the gallery director, Birta Walker, could hang the new Resika show. I had already framed the main body of the show in O’Keeffe and two-step Marin floater frames, but the last 10 were Spanish frames for Paul’s watercolors.
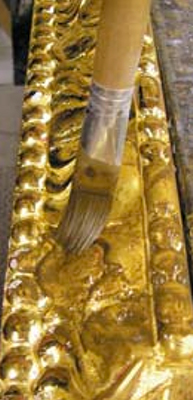
I mixed my wash and picked up the first frame, which I believed my assistant had sealed with shellac. Was I ever wrong! When I went to wipe off the wash, to my surprise, most of the gold came off with it. What was left behind were beautiful lay lines and the subdued look of fold that was centuries old. In the past, I had always tried to achieve this look the traditional way (as explained in my last two articles), but the look I discovered was just astounding. It really looked old!
Before I get into the details of this technique, just remember: if you try this, you could easily lose the frame. So just be careful and go easy!
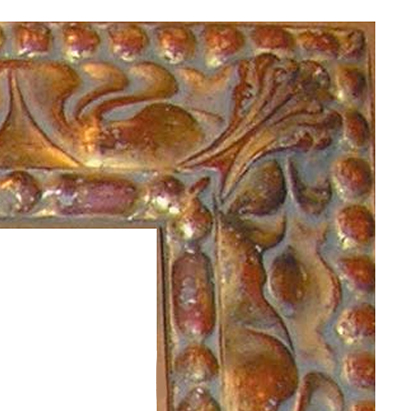
For the finish, as with all the patinas covered in this series, you must start at the beginning. This frame began with a 17th century comp moulding with applied ornamentation from Larson-Juhl’s new Concerto collection. Larson makes this moulding with a cracked gesso finish. But to illustrate the specific finish that I discovered in New York, three light coats of regular gesso need to be applied. After that, use a wet rag on the surface to remove the spray pattern and smooth the gesso. You don’t want a perfect surface here. For this patina, you need some nooks and crannies for the gold and wash to stick in.
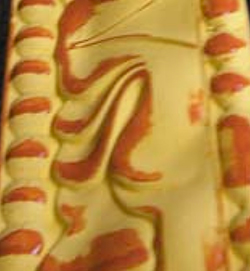
This frame should have a yellow base coat of clay with red clay highlights. That way, when you wash off the gold, you’ll have a hot red color underneath. For the best clay always mix your own from cones (refer to Introduction to Water Gilding). Then gild the frame and burnish the tops of the ornamentation. The bold dot-and-dash design element and the carved panel in this moulding really lend themselves to this finish.
After that, it’s time to distress the frame using what I call the “S&M technique.” That is, use chains, whips, rasps, ice picks, and razor blades to replicate the dings and dents a normal frame would have suffered over the centuries!
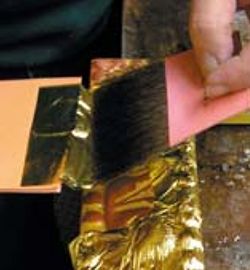
Now it’s time for the wash. Remember: try to stay historically correct. Don’t put a French finish on a Spanish frame. For a Spanish wash, mix three parts raw umber casein paint with one part raw sienna casein paint, then add a touch of white and a touch of burnt sienna casein. If you want the finish to be really hot, add more burnt sienna. I must stop at this point to mention that some frame manufacturers use latex paints for their washes. I don’t suggest this because latex tends to cover gold instead of clouding the surface like casein paints do. Stick with casein because it’s the best.
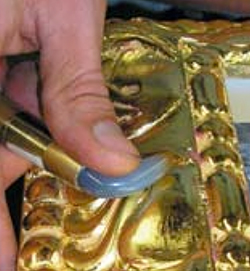
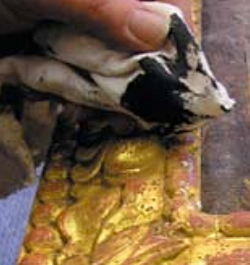
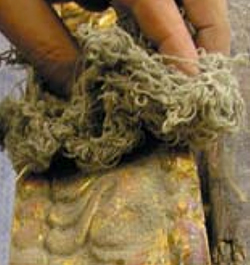
Anyway, you are now ready to apply the wash and do the rub all in one step. You have to work fast at this point or you could lose the whole thing. Put the wash on with a brush and take it off with a cotton cloth. When you have removed what you want, tamp it out with cotton waste. Then use a damp rag to pull back the highlights. Be careful—you can go all the way down to the gesso. Depending on what you want to show that can be good, but just make sure that’s what you really want to do.
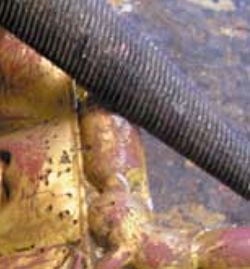
When I’m doing my frames, I like use a rasp at this stage to break off
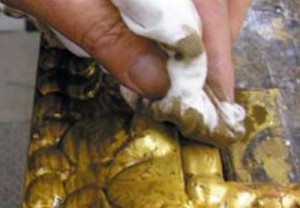
some bits of the frame to show some real white chips. After that, you can wax and dust the frame and call it a day. Or you can seal the frame with shellac, let it dry, apply asphaltum, and then re-wash. This is a more stable way of completing this patina, but the frame used here does not include that process so you so you can see it more clearly in the raw state. I like black wax and a lot of cigarette ash for the final touch. If ash is not your thing, a mixture of rottenstone and pumice will also work.
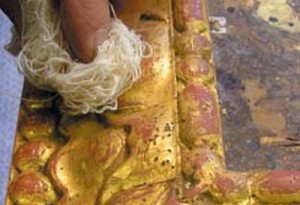
Keep in mind that if you are not careful when doing this wash finish, you can end up with a lot of mud on your frame and not a lot of gold. So work fast! When you get the hang of it, you’ll love this way of working because the results are “real.”
